Designing a Snap-Fit Hinged Box in TinkerCad
Introduction
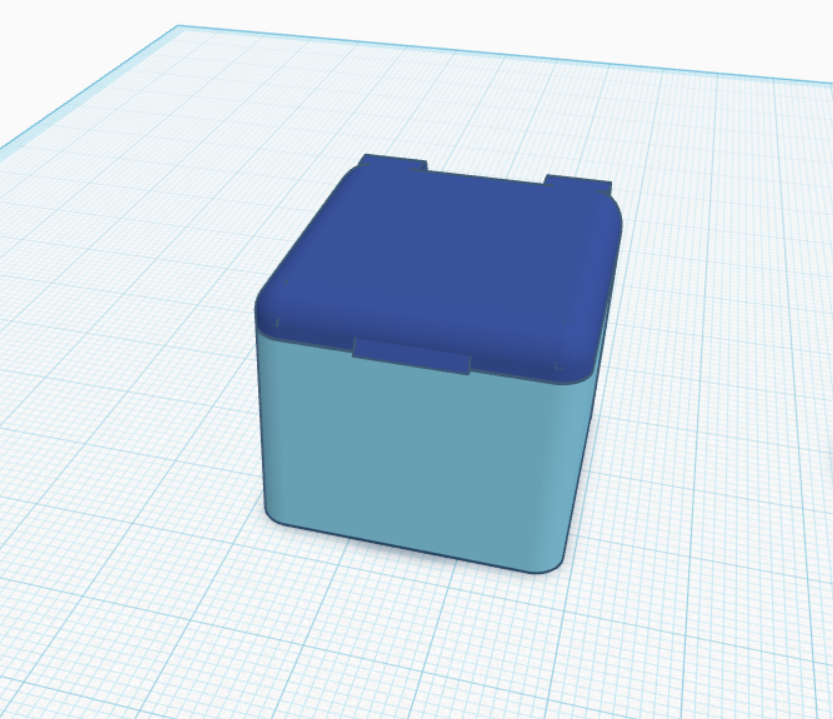
This project started because I needed to create a three-phase pill organizer for my medication. I had never designed or printed a box with built-in hinges that didn’t require hardware, so I saw this as a great opportunity to challenge myself. The goal was to design a small container with a snap-fit lid that used a simple friction-fit hinge.
Before I started designing, I decided to record the process so others could see how I approach 3D modeling in TinkerCad. This video showcases my iterative design process—designing, printing, testing, and refining until I achieved a satisfactory result.
Designing the Box in TinkerCad
Creating the Basic Box Shape
The first step in designing any container is creating a basic empty box. This can be done by:
- Creating a solid cube in the desired dimensions.
- Duplicating the cube and scaling the duplicate down slightly (subtracting the desired wall thickness).
- Centering the smaller cube inside the larger one.
- Raising the inner cube slightly to leave material for the bottom of the box.
- Setting the inner cube to a “Hole” and grouping it with the larger cube. This results in a hollow container with walls of the desired thickness.
Smoothing the Edges
Sharp edges can be uncomfortable to hold and can sometimes lead to weak points in 3D-printed parts. To smooth out the edges:
- A cylinder set to “Hole” can be used to cut curved sections out of a cube. This creates smooth edge transitions rather than sharp 90-degree corners.
- If you want to round the corners of the box, you can use a sphere set to “Hole.” Positioning the sphere within a cube and cutting it into quadrants results in a smooth, curved corner piece.
- These corner and edge pieces can then be resized and positioned as needed to create a more polished and aesthetic design.
Designing the Snap-Fit Hinge
Since I wanted the lid to attach to the base without external hardware, I needed a friction-fit hinge. The process involved:
- Creating hinge loops on both the lid and base, ensuring they lined up properly.
- Adding a cylindrical pin design that would allow the lid to snap into place while still being flexible enough to move.
- Testing different tolerances to find the right balance between a tight fit and smooth movement.
The first few attempts at printing the hinge didn’t work as expected. Either the hinge was too tight, causing the plastic to strain, or too loose, making the lid wobble. After a few iterations, I adjusted the clearance and finally got a working version that snapped together securely while allowing smooth rotation.
Iterative Design: Testing and Refining the Model
One of the most important aspects of 3D modeling is testing your designs in real life. In the video, I go through multiple print attempts, refining the model each time:
- First Print: The hinge was too tight, making it difficult to snap together without excessive force.
- Second Print: I adjusted the hinge clearance, but this resulted in a lid that was too loose.
- Final Print: After tweaking the tolerances and reprinting, I finally achieved a functional design with a satisfying snap-fit closure.
This process of trial and error is a natural part of designing for 3D printing. It’s one thing for a model to look great in software, but real-world physics and material properties can lead to unexpected challenges.
Final Thoughts
This project was a fun exercise in problem-solving and practical design. I learned a lot about snap-fit tolerances and how small adjustments can make a big difference in a model’s usability. The result was a simple but effective hinged box that prints in two separate parts and snaps together seamlessly.
If you’re interested in trying this design yourself, you can download the model and experiment with it:
📌 Download the Model on TinkerCad: https://www.tinkercad.com/things/aparY7kpquq-practice-tiny-hinged-box?sharecode=lXjXKhP04g0vqlBuY6drShuqht-_B6THe1j55BA263Q
🎥 Watch the Full Process on YouTube: https://www.youtube.com/watch?v=F7nIz6aS17I
Join the Conversation!
I’d love to hear your thoughts on this design! Have you tried creating snap-fit hinges in TinkerCad? What design challenges have you faced? Let me know in the comments or connect with me on social media.
🔗 Follow Me Here:
Thanks for reading, and happy printing!